
Microsoft Teams, one of the world’s leaders when it comes to collaboration, offers two ways for users to change their background image. First, you can blur everything behind you, effectively smudging every inch of mess. Or, if you like, you can choose an image either from Team’s own set of backgrounds or a custom image of your own.
The blur background option works fine, but these days, a lot more users much prefer to choose their own backdrops. It’s always fun adding your own touch to these things, especially since virtual meetings are often associated.
While the blurred background option was fine for a while, most of today’s users will much prefer the custom route. After all – what could be better than having your end-of-week meeting from a beach, on the moon, or in your favorite field?
Today, we’re going to show you how to change your Microsoft Teams background so that you can get the most out of every video meeting.
How to Change Your Teams Background?
First, make sure you have the latest version of Teams. From inside the app, click on your profile icon in the upper-right corner and select the “Check for updates” button. You can continue to work while the app checks for and downloads any available updates.

When you’re setting up your video and audio, preparing for your upcoming meeting, click on the tab that says Background effects. The option is located to the right-hand side of the microphone. Your background options will show up on the right of the screen.
If you just want to blur your background, then click on Blur. This will only blur your background, and leave you looking crisp and clear. If you want to change your entire background, click on one of the images provided.
Change Background Image
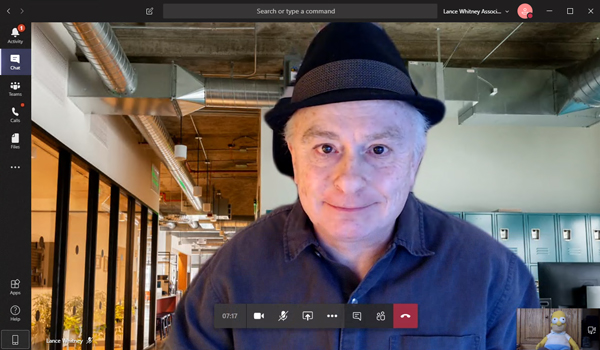
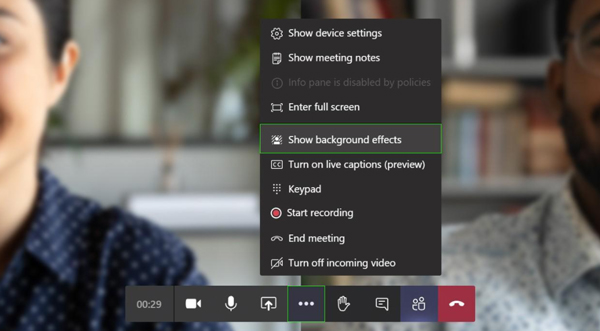
Start your video call. If you don’t want the other person to see your background before you’ve had a chance to change it, click the camera icon to turn off your video. Select the “More actions” icon on the toolbar—it’s the one that looks like an ellipsis. Then select “Show background effects” from the pop-up menu.

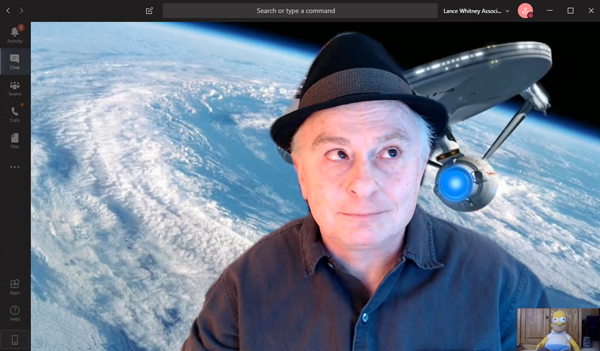
The Background settings page offers a selection of background images. Scroll down to browse through all the built-in images and select one you’d like to try. Click the Preview button and a thumbnail video of you appears with that background.

When you find one that works, click the “Apply and turn on video” button. Just like on Zoom, the person on the receiving end of the call will see you with your new virtual background.
Upload Custom Image
Microsoft this week finally rolled out a way to upload custom images to your Teams background. Previously, you had to upload your own images into the proper folder on your computer, then choose the image you wanted during a video call.
Now, before you start a meeting, click the Background effects button to the right of the mic switch. A window will appear letting you replace your background with a custom image.

To change your background image during a call, click the three-dot ellipsis button on the menu, and select Show background effects > Add new and pick a .JPG, .PNG, or .BMP file from your computer. You can preview the image before attendees will see it.
Try to keep in mind which images are most appropriate to use in a Teams video call. For colleagues you work with every day, it might be fun to get a bit more creative, but for executives and clients, you probably want something more professional. (If you need some ideas, we compiled a few geeky options for Zoom, which could also work on Teams).
Can I Customise my Background on Mobile?
Unfortunately, you cannot change your background in a call or meeting from your phone. The only effect you have available is the background blur. If there’s a lot of mess behind you, blurring your background is a great option to reduce distractions.